Sea Minor, a John Welsford Navigator.

This blog is about Sea Minor. I'm not sure about the name but that is what she was been called by the man who built her and changing a boat's name is a tricky business because you have to avoid upsetting Poseidon the god of the sea.

Sea Minor is a Navigator, a boat designed by John Welsford. Her vital statistics are: overall length 4.5m (14ft 9in), beam 1.8m (5ft 10in) and design weight is 140kg (309lbs). You can read more about this design at http://www.jwboatdesigns.co.nz/plans/navigator/index.htm.

If you would to contact me please Click to Send me Email

Thursday 1 November 2012

Centreboard Modifications

Way back in this blog (27 Nov 2011) is a post about the centreboard. The centreboard was not shaped correctly according to the plans. At that time I decided to use it as it was. Recently I have become more aware that the centreboard doesn't swing all the way down. The reason is that the hole of the pivot pin was not at right angles to the surface of the board and so, as it swung down, it twisted and jammed in the case. Last time I was sailing I decided that something had to be done!

The board is out of the boat and in the workshop. Here is a photo of the top of the board. The curved outline of the original board is visible under the new piece of timber that has been glued on. The new timber matches the shape called for by the plans. The origianl pivot pin hole has been filled in and the correct centre of the hole marked by the crossed lines. The new holes will be drilled and the tops part of the board re- fibreglassed and painted. Hopefully, the modified board will swing down to its correct position when it is put back in the boat.

 
I have also made a new tiller arm to replace the straight short original arm. I'm hoping that the new arm will allow me to sit further forward in the boat and that this will help with maneuverability in light winds. Here is a photo of the new arm in position.


Thursday 6 September 2012

WBAQ Messabout at Caloundra

The title of this post might appear a bit cryptic to the unitiated so a few words of explanation. WBAQ is the Wooden Boat Association Queensland Branch of which I am a member. The WBAQ organise regular "messabouts" which are gatherings of people with wooden boats for the purpose of messing about in boats. As Ratty said to Mole in Kenneth Graham's Wind in The Willows  "Believe me, my young friend, there is nothing absolutely nothing half so much worth doing as simply messing about in boats. Simply messing  about in boats; messing about in boats or with boats. In or out of  'em, it doesn't matter. Nothing seems really to matter, that's the charm of it. Whether you get away, or whether you don't; whether you arrive at your destination or whether you reach somewhere else, or whether you never get anywhere at all, you're always busy, and you never do anything in particular; and when you've done it there's always something else to do, and you can do it if you like, but you'd much better not."

This was a 2 day messabout with around 15 boats, mostly sailing boats but there were rowing boats, canoes, put-put's and an outboard powered "tug". The weather was perfect, bright sunny days and enough wind for sailing, sometimes with reefed sails.

Lots of photos were taken by other people and I may add some of these later when I get my hands on them. In the meantime, here are a couple showing 2 of John Welsford's Navigators sailing in a stiff breeze. My boat is the blue hull. The other boat belongs to my friend Rick.


Wednesday 29 February 2012

3rd Time Out - First Video

I am gradually sorting out the details but there is still a way to go. This trip out was at Caloundra on Queensland's Sunshine Coast with some of the guys from the Wooden Boat Association of Queensland. The day started with light winds that increased gradually as a storm built up in the afternoon.

Here is a short video of Sea Minor sailing early in the day. There would be more but the camerman was sailing single handed and filming with the other!


The afternoon storm caught us 2 or 3 miles from "home", fortunately we were pulled up on a beach with a shelter. The wind died to nothing but the thunder banged, the lightning flashed and the rain poured. When the storm had passed we set out for home. No wind, one Navigator with an outboard towing an Oughtred Fulmar towing my Navigator. Here's the view from the end of this chain.


During the course of the day I bent my boom slightly at the point where the vang attaches and it didn't spring back when the vang was released. The boom was a length of 38mm 16 gauge aluminium tube and has been replaced by a heavier section - 50mm diameter with a 3mm wall. This is a good deal heavier and I will have to be sure to duck!

Sunday 12 February 2012

First Sail

I took the Navigator to our "local" fresh water dam (Wivenhoe Dam is Brisbane's main water supply) for its first sail since the refurbishment. The winds were light and variable as a storm front moved in from the west. I managed to get the boat off the water and all packed up for the trip home before the 20 knot winds and heavy rain came in.

So what happened:

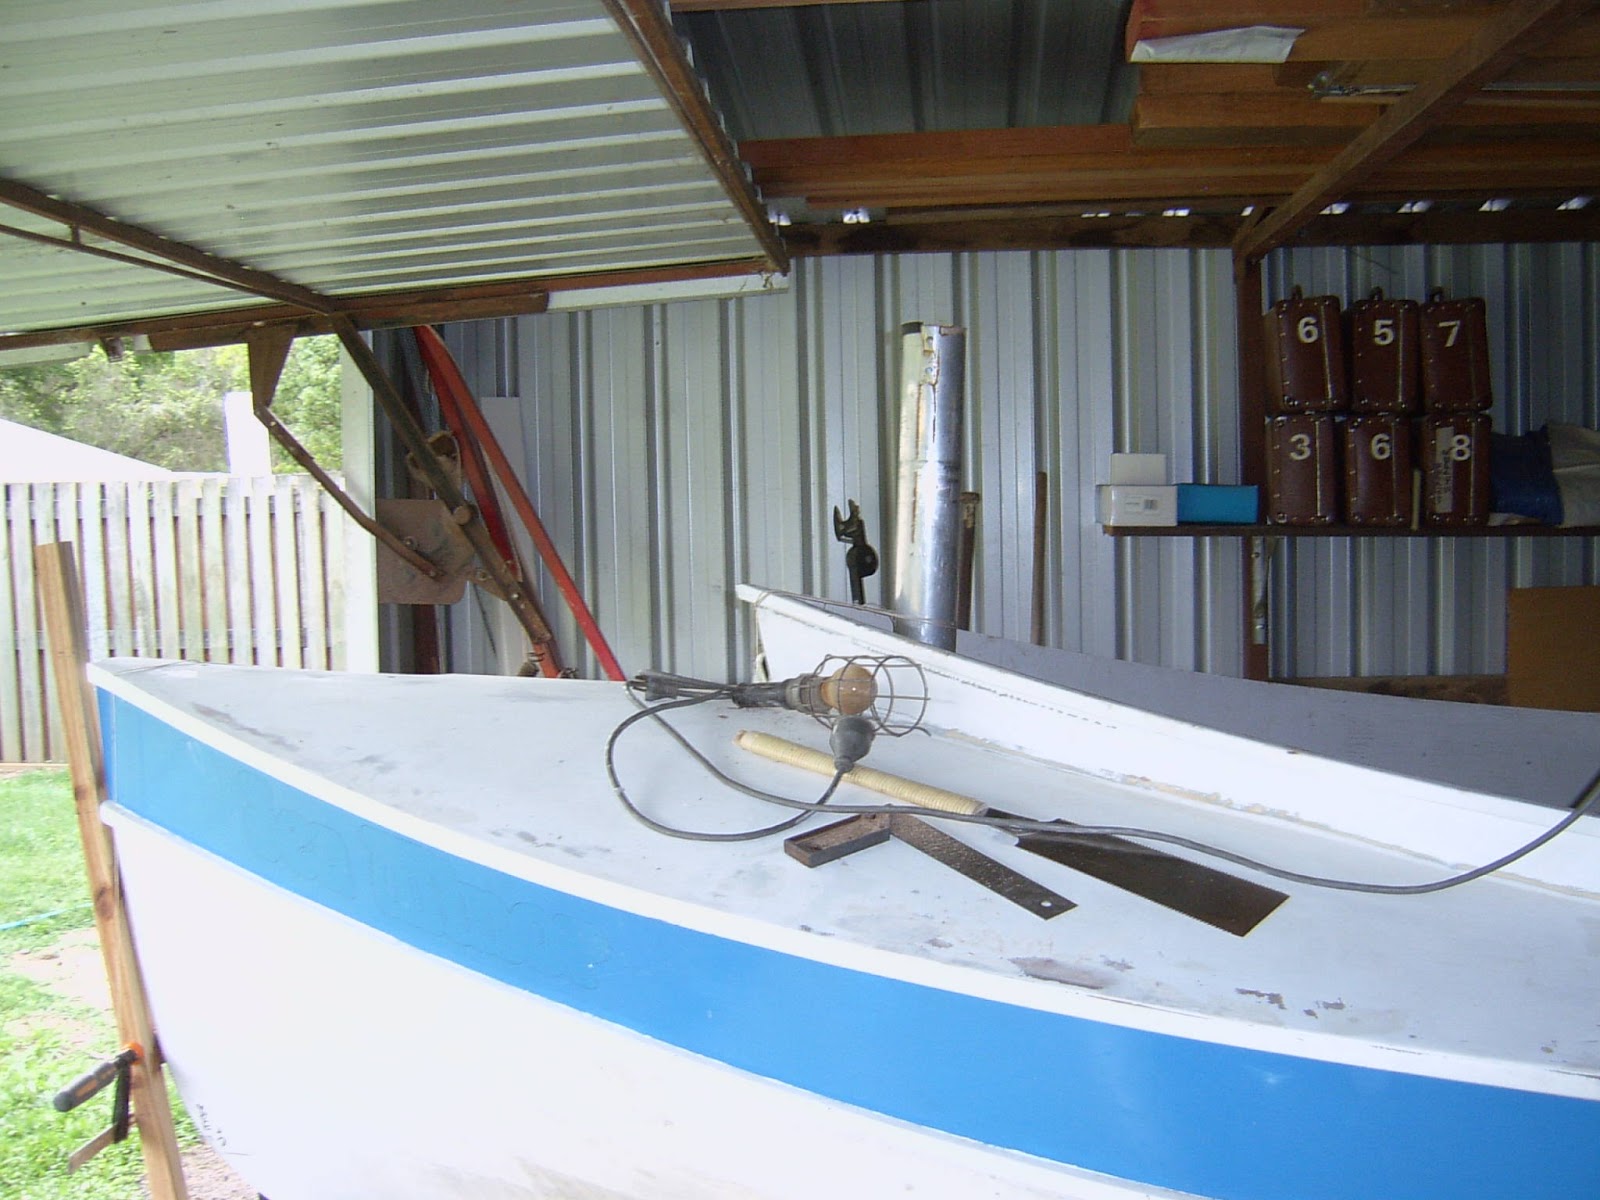
 Sea Minor launched off the trailer and got back on again without any major problems, However, some fine tuning to the roller and bunk heights is needed and I think I will look at putting wider rollers in place of the two rearmost rollers to better handle the wide section of keel around the centreboard opening.

The centreboard would only go down to about 20% of its fully gown position before the top corner hit the edge of the slot in the top cover of the centreboard case. Nothing that a saw and chisel can't fix but there will be a bit of delay while the varnished top is refuinished. The immediate solution was to remove the cover (it is held in place by screws) so the board could go down.

Several other minor things have to be fixed and I will get those done while the epoxy and varnish are drying on the centrecase top.

The boat sailed nicely but the light wind didn't allow for any serious testing. Here are a couple of photos of the boat in action.

This photo was taken immediately after setting off before the job was unfurled. The eagle eyed will notice that the mainsail is short of a batten in the middle of the sail This batten is in the top pocket and is too short to replace the top batten which I left at home! Even so the sail shape looks OK.


Next photo shows all sails set. Not sure about the mizzen - the sprit boom is a new thing to me and the sail seems to be just hanging there. Maybe I haven't got it sheeted correctly, maybe the light winds aren't helping.


Finally, heading back to the ramp to remove the centreboard case top so the centreboard could go all the way down. Making lots of leeway in this photo!


Saturday 4 February 2012

Looks Like It Could Go Sailing

The centreboard is in and it looks like it will go up and down, no obvious problems but it can't be tested until the boat is in the water. I put the masts and sails up this afternoon; most of the control lines are there and it looks like it could go sailing. However, my list of things to do seems to get longer as I get closer to the end. Maybe there isn't an end, boats are always a "work in progress".

Still to do: rudder up/down hauls, topping lift and lazy jacks for main, mizzen halyard, mainsail outhaul, various cleats and bullseyes, some touch ups on the paint work and cradles to carry the mast and spars when the boat is on the trailer.

Here are some pics:


Wednesday 1 February 2012

Back On The Trailer

The bottom is painted and today I turned the boat over so it is right side up and back on the trailer. Over the past 3 days I have done a bit of touch up painting and a lot of running around in the car. As a result of the car trips the outboard has been serviced, the main and mizzen sail batten pockets have been modified so the battens can be removed (previously the battens were sewn in) and the trailer has an additional roller towards the front. With the boat level on the trailer I stood the mast up and worked out where the mast step needed to be to give the correct amount of rake. At the same time I measured the length of the side stays and the wire that holds the end of the bowsprit down. These wires have been made up and tomorrow I will begin adding fittings to the boat.

Here's a photo of the boat in it's final colour scheme.


If the rain holds off tomorrow I should be able to fix the mast step in place, fit the chainplates and stand the mast up so that the rigging process can begin. Will post more photos as it comes together.

Sunday 22 January 2012

The Inside Painting Is Finished, So.......

It has been 10 days since the last post and much of this time has been spent waiting for paint to dry. In the down time I have been working on the trailer and trying to sort out the rigging side of things. The trailers axle and springs were quite rusty so I removed them. The axle cleaned up well with a wire brush in the angle grinder and then went through the rust converter, primer and paint process. It looks pretty good now. The springs were simply replaced because the replacements cost less than the time and materials to clean them up. I also had the drawbar on the trailer extended so that the boat doesn't hang as far over the end of the trailer (it exceeded the legal amount of overhang).

With the trailer back together I put the boat back on it for a short trip across my back yard to an open gazebo that has a substantial roof structure and enough headroom to turn the boat over in slings.

Here are a couple of photos of the boat on the trailer. You can see the overhang at the back of the boat, considerably less than it was and I plan to move the boat another 100 mm (4") forwards.


The next photo shows the boat lifted in rope slings passing through a couple of home made blocks (it would have been better, I think, to use webbing straps because the rope slings rolled along the curve of the hull and had to be restrained by tying them together).


Then turned halfway.


This is the most stable position for the boat supported in two slings, it turned to this position very quickly and then was hard to move to the upside down position. The problem was that, working by myself, I could turn the boat but then could not hold it in the upside down (unstable) position while lowering it onto a couple of sawhorses. In the end I use another 2 sets of blocks to pull down on the upper side and up on the lower side while lowering the boat onto the sawhorses. Tricky, but it's done.


Above shows the boat supported on sawhorses ready for work to begin on the bottom. Finally, a photo of the bottom which apart from dirt and few dings is in good condition. The main job is to finish the opening to the new centreboard case. The rows of holes are for the long screws that held the case in place while the epoxy set when it was installed. The woodwork where the centrecase logs come through the keel needs to be tided up. I will remove the paint around the wider section of the keel and put fibreglass cloth over the area and down into the case overlapping the cloth that is already inside the case and on the bottom of the boat.


Thursday 12 January 2012

Woodwork Done, Painting Begun.

The woodwork is essentially finished. Seat edges are all trimmed, the timbers running across the seat tops along the sides of the centreboard case are in place as is the fixed part of the centreboard case top. The rest of the case top will be screwed in place so it can be removed if/when I have to do something serious to the centreboard.

All the fillets have been done and so has a lot of sanding. In the photo below you can see that all the new timber has a coat of epoxy to seal it. The deck and coaming have been cleaned up and given a coat of undercoat. The sheer plank has its first coat of dark blue.


I won't be updating the blog as often while the painting progresses because it is hard to come up with interesting photos of paint drying!

PS, after posting the above it occured to me that a "before" photo might be interesting. Here is a photo from the start of this blog that shows the starting point. A lot has happened in the 3 weeks I have been working on the boat!


Saturday 7 January 2012

The Woodwork Is Almost Done

It has been a very sticky 2 days since the last entry. I have epoxy in my hair, on my skin and fingernails. The hair and skin isn't a problem because it wears away quickly but the fingernails seem to have to grow out and that's slow. And, before you start, I do wear latex gloves but it still seems to get on my fingers!

Two photos show that the woodwork is almost done. Here they are:


The brace at the aft end of the centreboard case is not glued in place yet. Once that is completed I intend to fit a rail either side of the case from bulkhead 2 (2 circular holes) across both seat tops to the rear of the case. I also have to close in the top of the centreboard case.


So, a bit more woodwork, some epoxy fillets to do, a lot of sanding and I can start painting.

Thursday 5 January 2012

Centrecase Fitted and Glued

Yesterday I fibreglassed the inside of the centrecase and today glued and screwed it in place. I will miss the hole in the bottom of the boat, it was handy to sweep shavings and sawdust through!


Next jobs are to put in the spine panel between the seat and the centrecase and replace some of the original seating around the centrecase.


The photo below shows a piece of scrap 75 mm diameter aluminium tube fitted in where I think it should be. The panels in the shed wall are vertical, the boat's waterline is level, what angle should the yawl rig mast slope back? It's tricky to measure the angle but I think it is about 2.5 degrees in the photo.

Tuesday 3 January 2012

Forward Seat Compartment (continued)

Some progress since the last entry despite not being able to put in a full day's work. Today's interruption was a shopping expedition to buy boat building supplies, bandsaw blades, sanding sheets for various orbital sanders, etc. An apparent waste of time but it has to be done. Tomorrow will be better, no interruptions!

Here is today's photo:


What does it show:
Bulkhead 3 repaired (the front of the forward seat compartment).
The seat top is glued down, held in place with clamps and temporary screws until the glue sets.
The compartment is painted in side, 2 coats of high build water based epoxy undercoat and 2 coats of exterior grade enamel.
The mast partner (at deck level between the coamings) has a new front to support the edge. There was nothing there before, just the edge of the 6mm ply, now it has a 25mm thick laminated edging strip.

The structural work at the front of the boat is almost done. The next major job is to install the new centre board case but before that can be done I will cover the inside of the case with epoxy and fibreglass cloth. I'm not looking forward to the fibreglass job - it will be messy and I will end up wearing more than the usual amount of epoxy resin!