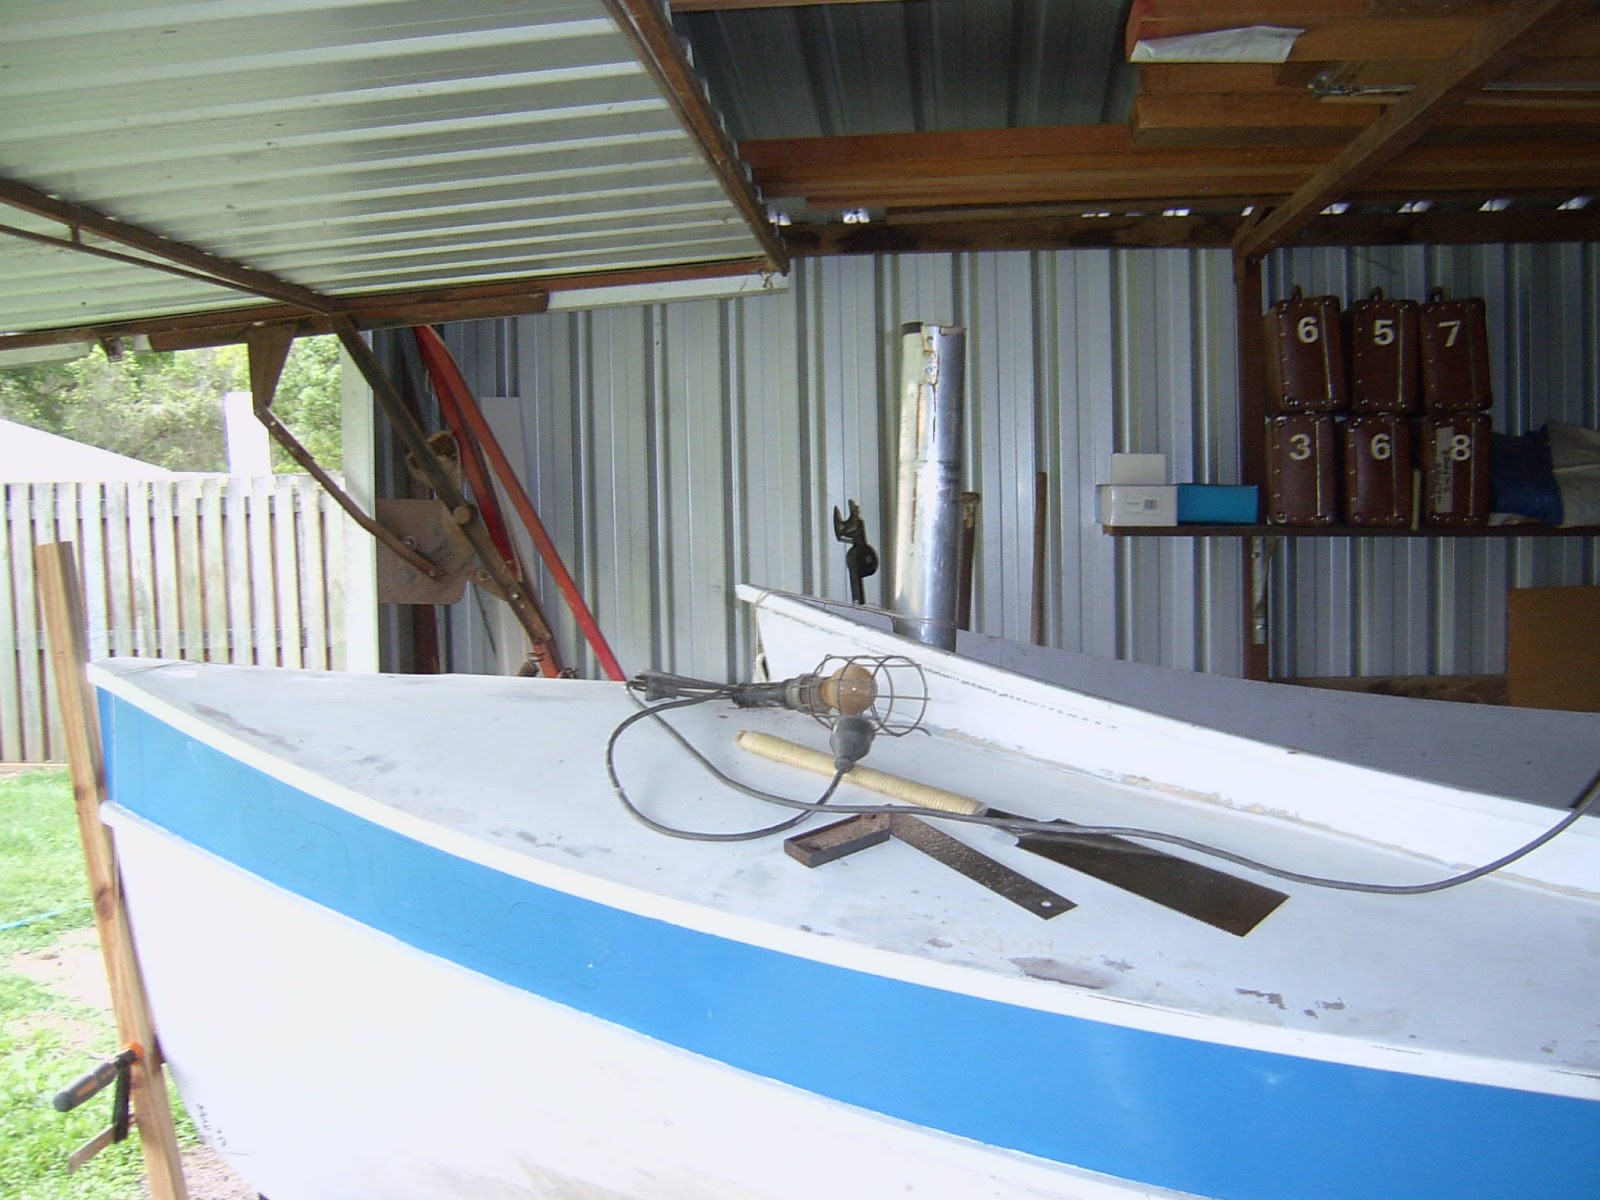
Sea Minor, a John Welsford Navigator.

This blog is about Sea Minor. I'm not sure about the name but that is what she was been called by the man who built her and changing a boat's name is a tricky business because you have to avoid upsetting Poseidon the god of the sea.

Sea Minor is a Navigator, a boat designed by John Welsford. Her vital statistics are: overall length 4.5m (14ft 9in), beam 1.8m (5ft 10in) and design weight is 140kg (309lbs). You can read more about this design at http://www.jwboatdesigns.co.nz/plans/navigator/index.htm.

If you would to contact me please Click to Send me Email

Thursday, 12 January 2012

Woodwork Done, Painting Begun.

The woodwork is essentially finished. Seat edges are all trimmed, the timbers running across the seat tops along the sides of the centreboard case are in place as is the fixed part of the centreboard case top. The rest of the case top will be screwed in place so it can be removed if/when I have to do something serious to the centreboard.

All the fillets have been done and so has a lot of sanding. In the photo below you can see that all the new timber has a coat of epoxy to seal it. The deck and coaming have been cleaned up and given a coat of undercoat. The sheer plank has its first coat of dark blue.


I won't be updating the blog as often while the painting progresses because it is hard to come up with interesting photos of paint drying!

PS, after posting the above it occured to me that a "before" photo might be interesting. Here is a photo from the start of this blog that shows the starting point. A lot has happened in the 3 weeks I have been working on the boat!


Saturday, 7 January 2012

The Woodwork Is Almost Done

It has been a very sticky 2 days since the last entry. I have epoxy in my hair, on my skin and fingernails. The hair and skin isn't a problem because it wears away quickly but the fingernails seem to have to grow out and that's slow. And, before you start, I do wear latex gloves but it still seems to get on my fingers!

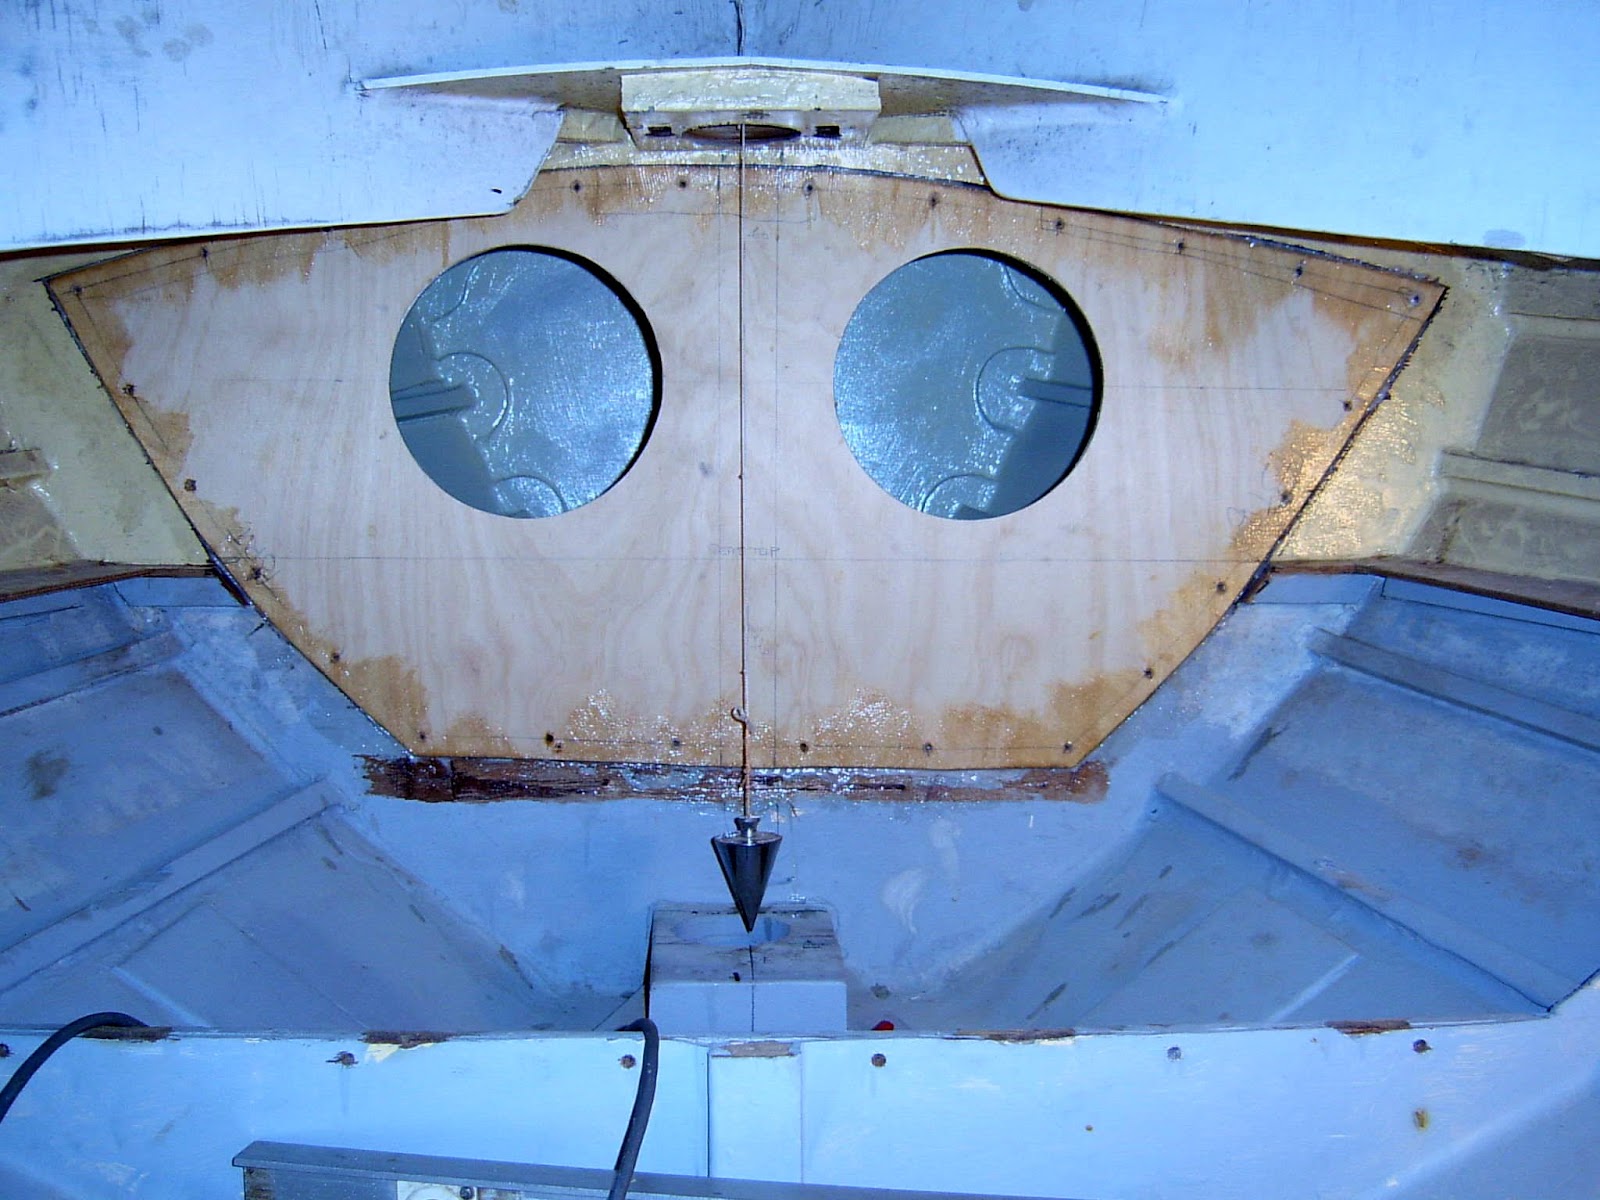
Two photos show that the woodwork is almost done. Here they are:


The brace at the aft end of the centreboard case is not glued in place yet. Once that is completed I intend to fit a rail either side of the case from bulkhead 2 (2 circular holes) across both seat tops to the rear of the case. I also have to close in the top of the centreboard case.


So, a bit more woodwork, some epoxy fillets to do, a lot of sanding and I can start painting.

Thursday, 5 January 2012

Centrecase Fitted and Glued

Yesterday I fibreglassed the inside of the centrecase and today glued and screwed it in place. I will miss the hole in the bottom of the boat, it was handy to sweep shavings and sawdust through!


Next jobs are to put in the spine panel between the seat and the centrecase and replace some of the original seating around the centrecase.


The photo below shows a piece of scrap 75 mm diameter aluminium tube fitted in where I think it should be. The panels in the shed wall are vertical, the boat's waterline is level, what angle should the yawl rig mast slope back? It's tricky to measure the angle but I think it is about 2.5 degrees in the photo.

Tuesday, 3 January 2012

Forward Seat Compartment (continued)

Some progress since the last entry despite not being able to put in a full day's work. Today's interruption was a shopping expedition to buy boat building supplies, bandsaw blades, sanding sheets for various orbital sanders, etc. An apparent waste of time but it has to be done. Tomorrow will be better, no interruptions!

Here is today's photo:


What does it show:
Bulkhead 3 repaired (the front of the forward seat compartment).
The seat top is glued down, held in place with clamps and temporary screws until the glue sets.
The compartment is painted in side, 2 coats of high build water based epoxy undercoat and 2 coats of exterior grade enamel.
The mast partner (at deck level between the coamings) has a new front to support the edge. There was nothing there before, just the edge of the 6mm ply, now it has a 25mm thick laminated edging strip.

The structural work at the front of the boat is almost done. The next major job is to install the new centre board case but before that can be done I will cover the inside of the case with epoxy and fibreglass cloth. I'm not looking forward to the fibreglass job - it will be messy and I will end up wearing more than the usual amount of epoxy resin!

Saturday, 31 December 2011

Forward Seat Compartment

Despite interruptions I've made good progress on the seat compartment between bulkheads 2 and 3. Here's a photo showing the state of things at the end of New Year's Eve.


The clamps are holding doubler strips to the backs of the remains of the original panels. Tomorrow's job is to shape the plywood panels for the new front and top of the seat.  I will glue the seat front in place and then paint the inside of the compartment before glueing the top down (epoxy on the bare wood then paint over everything).

The original mast step was on the keel and I am moving it up onto the seat top. The new plywood spine betweem bulkheads 2 and 3 has substantial ribs either side of it to support the load from the mast. The heavy ply top to this spine will transfer the longitudinal forces to the two bulkheads and the seat top, when it is glued down, will handle the transverse loads. This ply top will also be connected to the centreboard case by a continuation of the vertical spine and a horizontal "beam".

The photo below shows the original hole in the deck that the mast fitted through. It is plugged because it is about 50 mm forward of where it should be (click on the photo to enlarge it and you will see my marks showing where the centre of the hole should be). I will shape a piece of ply to glue down onto the deck and then cut a U shaped opening so the mast can be stepped and pushed up into the U without having to lift it to the vertical and pass it down through the hole in the deck.

Thursday, 29 December 2011

Bulkhead 2 and Transom Stuff

Here's a photo of bulkhead 2 with the new ply glued in place. It needs some cosmetic work around the join once the temporary screws are removed. I took the opportunity, while the hole was open, to clean up the space behind bulkhead 2 and gave it a couple of coats of paint.


With bulkhead 2 in place I checked the position of the mast step and the mast hole in the deck. Both are further forward than they should be and their relative position is such that the mast will be closer to the vertical than designed. I will follow John Welsford's advice and put the mast where it should be.

The transom was damaged where the rudder pintles attached. The ply was cracked but probably still watertight. The photo below shows a new piece of ply glued to the inside of the transom below the seat. Also visible (just) is the new step for the mizzen mast; not visible are the new doublers,below the deck and seat, around the mizzen mast holes (there were none there).

I am replacing some of the stern seat and the frame work is in place to support the new ply.


I added a ply doubler over the damaged transom on the outside. Not very elegant but much stronger than the original.

Tuesday, 27 December 2011

Trial Fitting the New Centrecase

I have made a new centrecase according to the plans but also paying attention to the size of the hole in the bottom of the boat (wider at the front and longer than standard but these variations are only around 2 mm). While I had the centrecase on the bench I tried the centreboard in it so that there would be any nasty surprises down the track. It fitted OK with small clearances from side to side and enough room to swing up.
While looking at the centreboard and the plans I noticed that it isn't shaped as per the drawing. Here is a photo of the top of the board. Note that there is a step in the leading edge of the board where it changes from the parallel top to the profiled lower section. The plans show a straight taper from the transition line to a point above the hole. This flat face would fit against the inside of the forward end log and hold the board at a slight trailing angle to the water line - this is how it appears on the drawing. Without this taper on the upper part of the leading edge the board will hang down more vertically and I am wondering how much of a problem this will be.


In the  next photo a piece of ply shows approximately how much is missing from my centreboard. As well as the missing stuff on the leading edge the top should be parallel to the pencil line. I'm less concerned about that part because what is there looks as if it is strong enough.


Last photo shows the centrecase in place in the boat. At that time it was only held together by a couple of screws and still has to be scribed to fit the curved bottom.